
| Channel | Publish Date | Thumbnail & View Count | Actions |
|---|---|---|---|
 TEK TRONIX TEK TRONIX | 2023-07-11 13:05:24 | 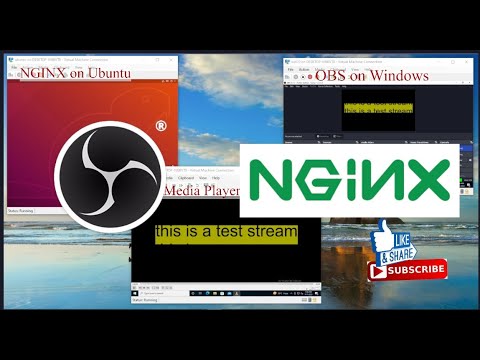 2,225 Views |
Purpose installation of streaming server, multicast to lan users using a media player.
Requirement
1 Nginx open source web server on Linux to re-stream for recipients
2 OBS on windows for streaming
3 VLC player to watch stream
1 Nginx installation on Ubuntu
sudo apt-get update
sudo apt-get upgrade
sudo apt install nginx-full
sudo add-apt-repository universe
sudo apt install libnginx-mod-rtmp
navigate to /etc/nginx open file nginx.conf and paste code given below
rtmp {
server {
listen 1935;
chunk_size 4096;
application live {
live on;
record off;
}
}
}
or
sudo nano /etc/nginx/nginx.conf
And paste above configuration code
Service nginx start
sudo systemctl restart nginx
service –status-all
Note: nginx server should be connected Giga LAN network
*******************************************************
2 OBS Studio
Step-1: Download OBS Studio from /”https://obsproject.com//” and install
Step-2: run OBS Studio
Step-3: go to file-setting-output-streaming-video bitrate (reduce the video bit rate from 1000 to 333kbps if required, this will reduce network load from mbps to kbps for each user)
Step-4: go to file-setting-streaming-service select custom
In server input /”rtmp://nginx server ip:1935/live/” e.g. rtmp://172.0.0.1:1935/live
In stream key /”any key alpha or numeric/” e.g. 1234
Ok to save setting
Step: 4 go to control and start streaming
Note: OBS Studio should be connected Giga LAN network
*****************************************************
3 VLC Player
Step-1: download and install latest vlc player in your operating system
Step-2: run vlc player
Step-3: go to tool Preferences-input/codecs-show setting all-input/codec-network caching increase from 1000 to 10000 or 15000 (this will increase the screaming delay but will not disconnect in case of network loss) ok to save setting
Step:4: go to media open network stream and enter rtmp://nginx server ip:1935/live/key e.g. rtmp://172.0.0.1:1935/live/1234
Note: client user with lvc should not necessarily connected to LAN, Wi-Fi is preferable.
Please take the opportunity to connect and share this video with your friends and family if you find it useful.


