
| Channel | Publish Date | Thumbnail & View Count | Actions |
|---|---|---|---|
 | Publish Date not found | 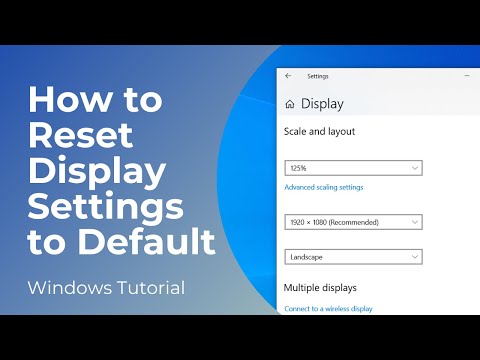 0 Views |
Resetting display settings to default in Windows 10 can be useful if you’re experiencing visual or performance issues with your screen or if settings have been unintentionally changed.
*To get started:*
1. Go into the Windows start bar, and type in “Settings” and click on the “Settings” search result.
2. Once the settings dialog window opens up, click on the “Personalization” menu item.
3. You’ll now be taken to the background page. To reset your background, select the blue Windows background, which is the default background when you install Windows 10.
4. Next, click on the “Colors” menu item on the left hand side.
5. From this page, I’m going to select my “Windows default mode” to “Dark”, and then my “Default app mode” to “Light” as these are my preferred settings.
6. Next, make sure the “Transparency effects” slider is turned on, this ensures that the start bar is transparent.
7. Now, if we scroll down the page, you’ll want to ensure that the “Default blue” color is selected for the Windows colors. This is the default Windows color for Windows 10.
8. Now click on the “Home” button, to go back to the settings homepage.
9. From the settings homepage, click on the “System” menu button.
10. You’ll now be taken to the display page, from here, ensure that the night light setting is turned off.
11. Now if we go down the page to the “Scale and Layout” section, ensure that the scale and layout size is set to the recommended setting, as you can see, for me that is 150%, so I’m going to change it to that.
12. Now for the “Display resolution” field, ensure that the recommended resolution is selected, for me that is 1920 x 1080, as this is my screen’s resolution. If you have a 4K monitor, then this resolution will probably be much higher.
13. And that’s it for the display settings, now click on the “Home” button to go back to the settings homepage.
14. From here, click on the “Ease of Access” menu item.
15. Now, from this “Display” page, ensure that the text slider is set all the way to the left, as we don’t want our text size to be increased.
16. Next, for the “Make everything bigger” field, ensure you have the percentage set at the recommended one, for me this is “150%”. This setting controls the size of apps and text on the main display.
17. Now, for the “Simplify and personalize Windows” section, ensure all of the slider fields are turned on.
18. Next, click on the “High contrast” menu option from the left hand side.
19. From this page, ensure that the “High contrast” slider is turned off.
20. Next, click on the “Magnifier” menu option from the left hand side.
21. From this page, ensure that the magnifier option is turned off, and also make sure that the “Change zoom increments” field is set to “100%”, which is the default.
22. Now, for the last step, click on the notification icon in your system tray, and ensure the tablet mode is not turned on. If tablet mode is turned on, turn it off.
And it’s as easy as that, resetting your display settings to default in Windows 10 is a simple task to perform.
#windows10 #displaysettings #default #techsupport
Please take the opportunity to connect and share this video with your friends and family if you find it useful.


