
| Channel | Publish Date | Thumbnail & View Count | Actions |
|---|---|---|---|
 | Publish Date not found | 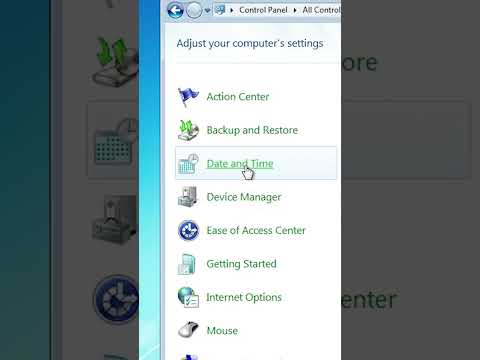 0 Views |
To change the time format, you’ll need to go to the Date and Time settings in Windows 7. This can be done by clicking on the clock icon in the taskbar and selecting /”Change date and time settings./” From there, you’ll need to click on the /”Change date and time/” button and then click on the /”Change calendar settings/” link.
In the /”Customize Format/” window, you’ll see an option to change the time format. Simply select /”h:mm tt/” from the drop-down menu to switch to the 12-hour clock format. You can also customize other time and date settings from this window.
Once you’ve made your changes, click on /”OK/” to save them. Your clock should now display the time in the 12-hour format.
Overall, changing the time format from 24-hour clock to 12-hour clock in Windows 7 is a simple process that can be completed in just a few steps. With this tutorial, you’ll be able to customize your Windows 7 clock to better suit your needs.
Please take the opportunity to connect and share this video with your friends and family if you find it useful.


