
| Channel | Publish Date | Thumbnail & View Count | Actions |
|---|---|---|---|
 Fix it Free Fix it Free | 2020-08-16 15:26:42 | 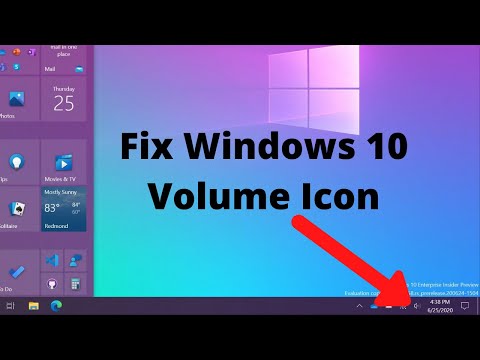 8,299 Views |
• Step 1: Right-click Taskbar and choose Task Manager to continue.
• Step 2: In the pop-up window, go to Processes tab and find out Windows Explorer.
• Step 3: Right-click it to choose Restart to continue.
Solution 2. Restart Audio Services
• Step 1: Press Windows key and R key together to open Run dialog, and then type services.msc in the box and click OK to continue.
• Step 2: In the pop-up window, scroll down to find Windows Audio service. Then right-click it to choose Properties to continue.
• Step 3: In the pop-up window, change the Startup Type to Automatic and make sure the Service status is Running.
• Step 4: Click Apply and OK to execute all changes.
Solution 3. Update Audio Driver
• Step 1: Type Command Prompt in the search box of Windows 10, choose the best-matched one, and right-click it to choose Run as administrator.
• Step 2: Type mmsys.cpl in the command line window and hit Enter to continue.
• Step 3: Then you will get a popup window. Right-click the Volume icon on the system tray of your computer and choose Playback devices. Doing this step is to find out which device is your system default. And then return to your desktop.
• Step 4: Type Device Manager in the search box of Windows 10 to continue. In the pop-up window, locate at the Sound, Video and game controllers and expand it.
• Step 5: Then right-click your default device and choose Update driver to continue.
Solution 4. Run Audio Troubleshooter
• Step 1: Press Windows key and I key together to open Settings.
• Step 2: In the pop-up window, choose Update & Security to continue.
• Step 3: Click Troubleshoot on the left panel, choose Playing Audio, and click Run the troubleshooter to continue.
Solution 5. Enable Legacy Volume Control Slider
• Step 1: Press Windows key and R key together to open Run dialog, then type regedit in the box and click OK to continue.
• Step 2: In the Registry Editor window, navigate to the CurrentVersion folder according to the following path.
• HKEY_LOCAL_MACHINE//SOFTWARE//Microsoft//Windows NT//CurrentVersion
• Step 3: Right-click CurrentVersion and choose New to create a subkey, and then name it as MTCUVC.
• Step 4: Select the MTCUVC key, right-click on the right blank panel, choose New, and choose DWORD(32-bit) Value to continue. Then name it as EnableMtcuvc.
• Step 5: Double-click it to change its value data to 0. Then click OK to continue. We really appreciate your support ️️ … If You Like Our Videos … ▶️▶️▶️ Subscribe
Follow me on Instagram https://www.instagram.com/hichamboutnaache/
Please take the opportunity to connect and share this video with your friends and family if you find it useful.


